
Set up your account
Sign in, fill in your business details, load your price book, connect payments and invite your team.
Free forever Not a trial. No card, no contract, unlimited users. Card payments cost 3.9% + 30¢. Our promise →
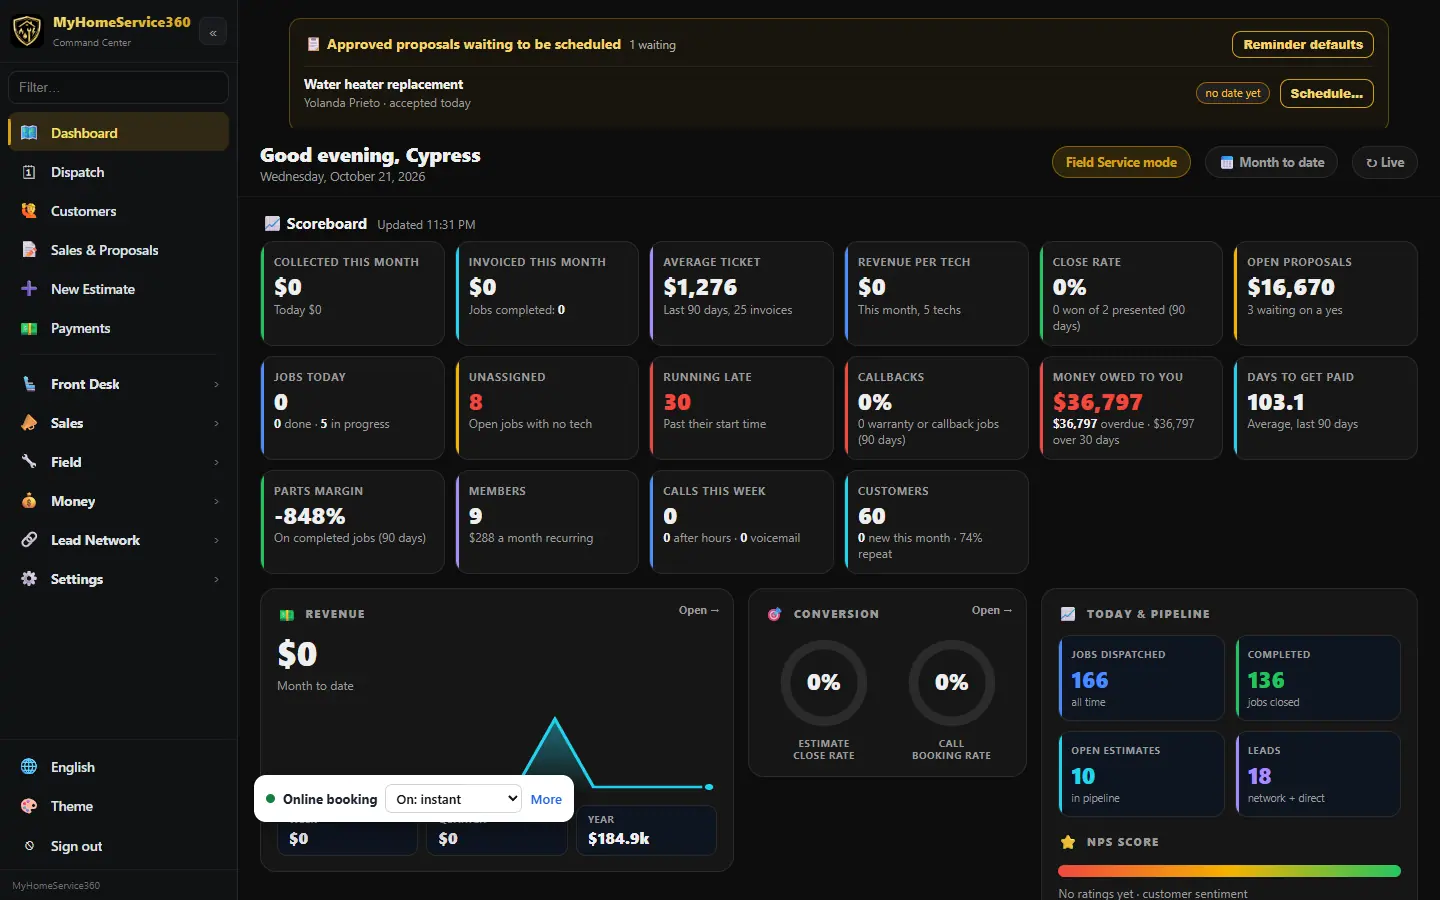
Step 1: Sign in from your company’s link
Use your company’s own sign-in link. It’s in your welcome email, and the owner can copy it from Settings → Login Settings → Copy. It opens your company’s sign-in page, so you just enter your username and password, with no Company ID to type. Bookmark it. If you sign in at dashboard.myhomeservice360.com instead, a screen may ask for your Company ID (the number in your welcome email; the Pro app calls it your Business ID). See the side menu, themes and sign-in.
Tick Keep me signed in on this computer only on a computer you trust. Otherwise the app asks you to sign in again each time it’s fully closed.
Step 2: Your dashboard fits your trade
When you sign up, you pick your trade and tell us how many people work in the business, counting you. Your dashboard and side menu start with only what your trade uses day to day. A one-person business starts without the team tools, like the dispatch board, the live staff map and staff location tracking.
Nothing is taken away. Open Settings → Features to turn any tool on, see the tools that are hidden from your menu, or tell us what you need. The features guide has the details.
Step 3: Find your way around
The menu on the left holds everything. The top items are the ones you’ll use every day: Dashboard, Dispatch, Customers, Sales & Proposals, New Estimate and Payments. The groups below (Front Desk, Sales, Field, Money, Lead Network, Settings) open to show more.
Type in the Filter box at the top of the menu to jump to any page by name. Click « to shrink the menu to icons. On a phone, the menu opens from the button at the top.
The bottom of the menu has the Booking on/off switch, Update app, your language, Theme and Sign out. Dashboard at the top of the menu always takes you home.
Step 4: Fill in your company profile
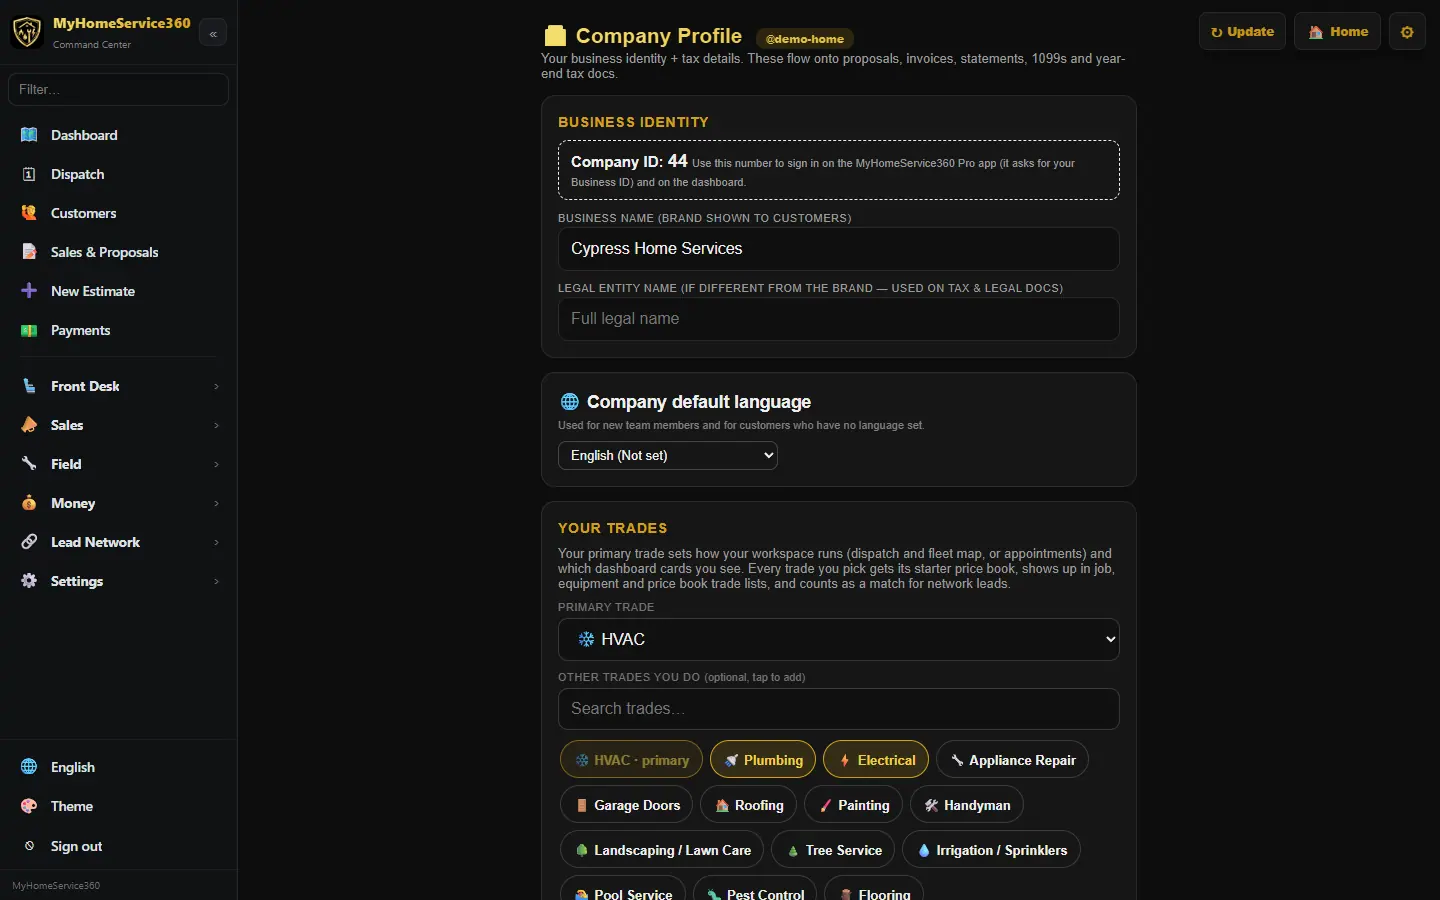
Open Settings → Company Profile. Enter the business name your customers see, your legal name, your trades, your EIN and entity type for the books, your default sales tax rate, and your address, phone, email and website. Click Save profile.
Your address and phone show on estimates, invoices and your website, so check them now.
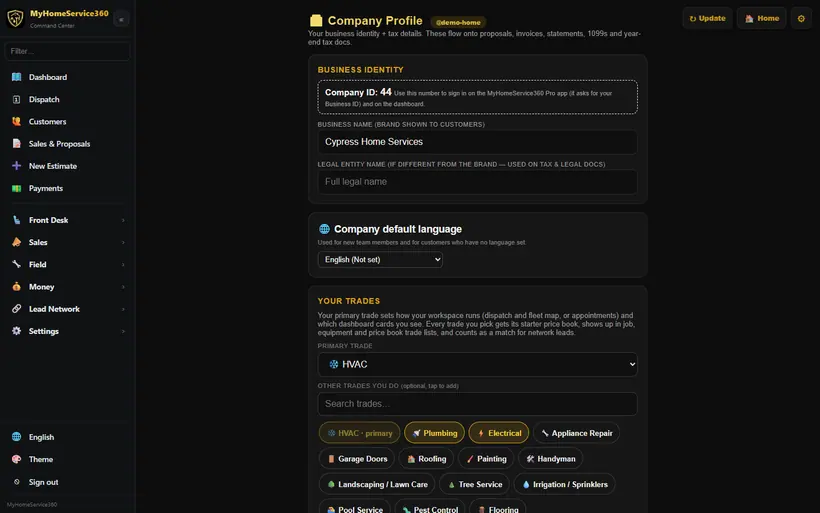
Real screen from the demo account; names and numbers are sample data. Step 5: Add your logo and colors
Open Settings → Branding & Logo and upload your logo. It appears on proposals, invoices and your website.
Step 6: Load your price book
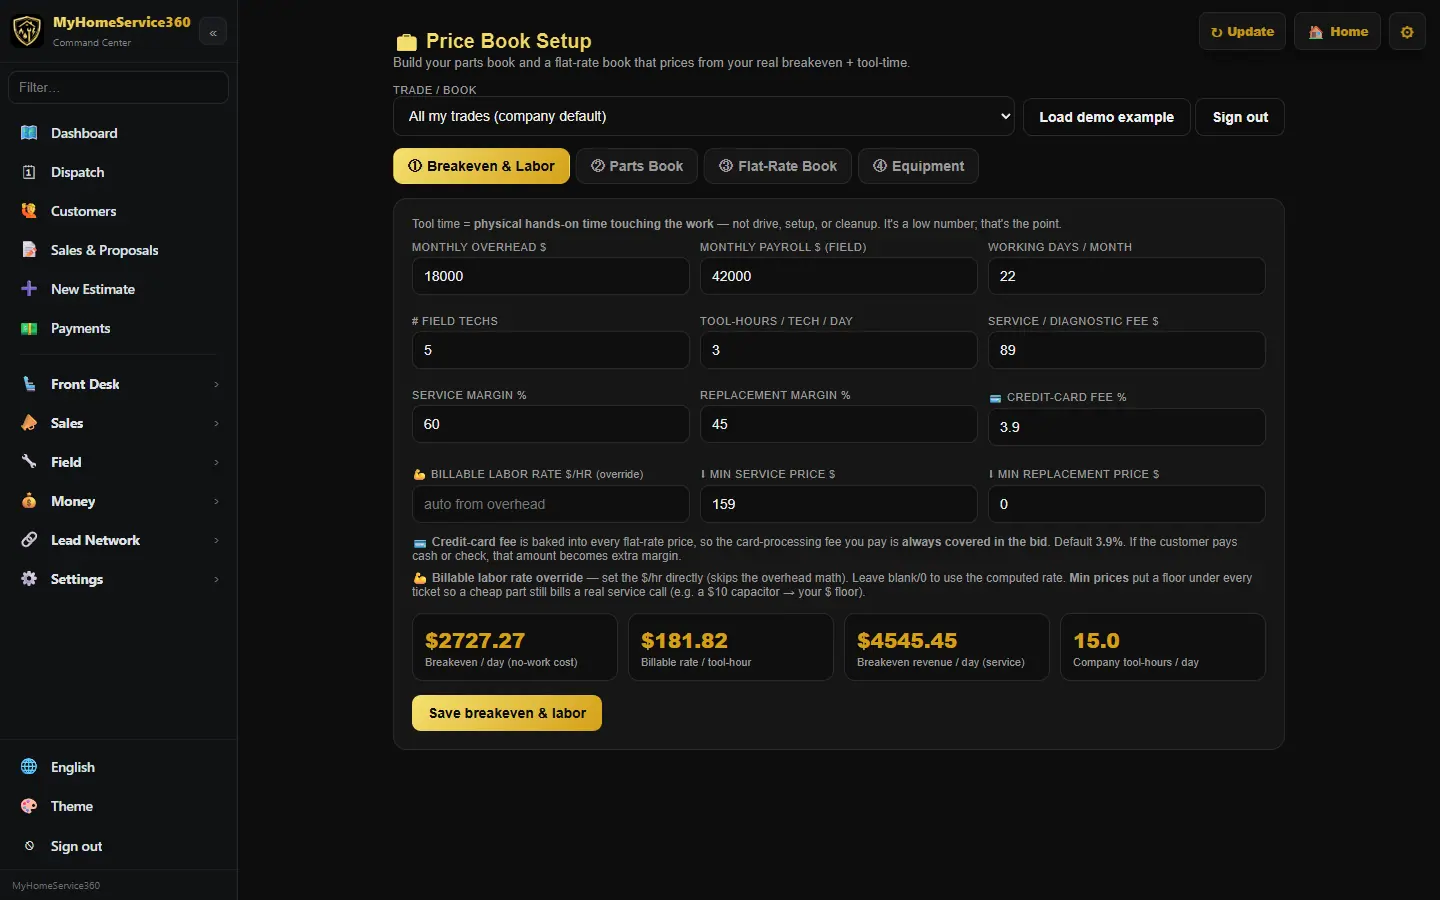
Open Settings → Price Book Setup. Enter your overhead, payroll and tool-time and it works out your breakeven and billable rate. Then load the starter flat-rate book for your state (HVAC, plumbing and electrical), or a starter catalog for your trade, and adjust the prices to your market.
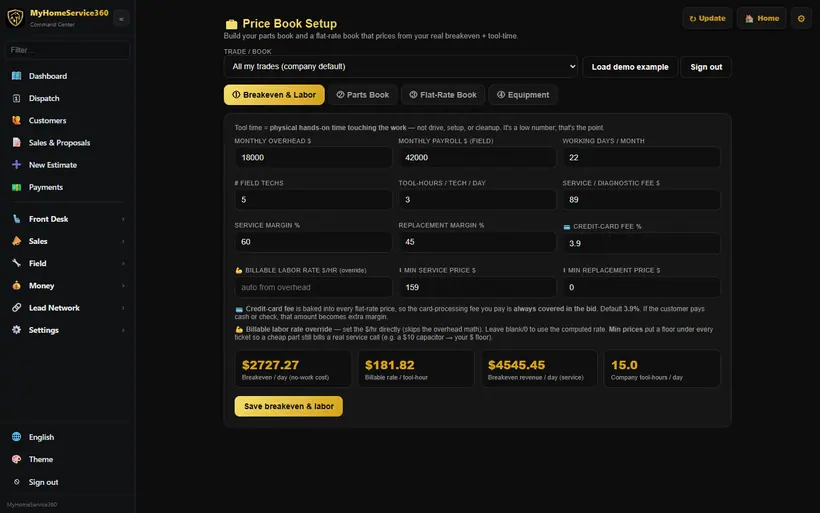
Real screen from the demo account; names and numbers are sample data. Step 7: Connect payments
Open Payments and click Set up payments under Get paid by card. Stripe asks for your business details, the owner’s info and the bank account for deposits; setup takes about 10 minutes. Once Stripe approves you, customers can pay by card or bank and the money goes to your bank. Card payments cost 3.9% + 30¢. See getting paid.
Step 8: Bring in your existing data
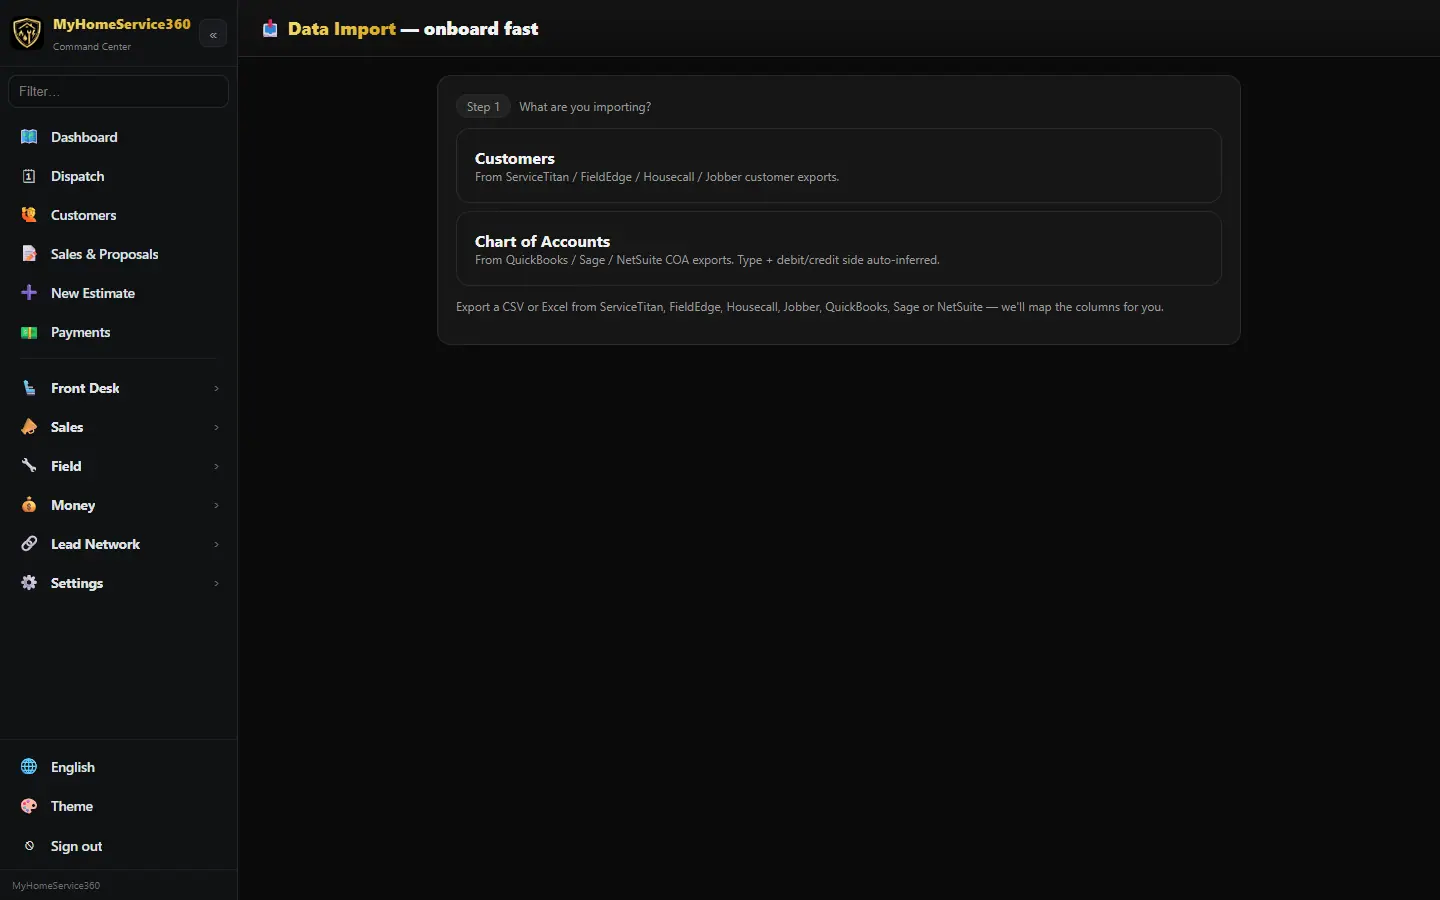
Open Settings → Import Data, upload a CSV or Excel export from your old software or a spreadsheet, check the column matching, click Preview import, then import. Start with customers; you can import more files later.
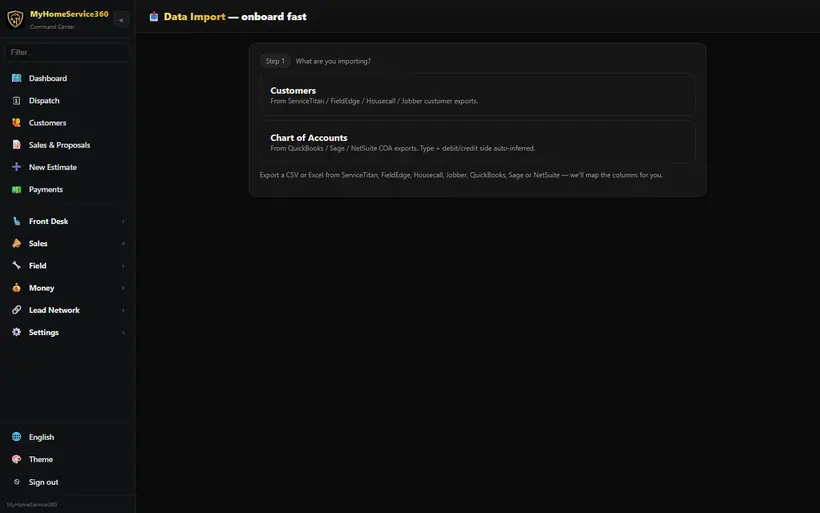
Real screen from the demo account; names and numbers are sample data. Step 9: Invite your team
Open Settings → Users & Permissions and click + Add person for each person. Pick a role and they get exactly the access that role needs. The users and permissions guide has the details. There’s no charge per user.
Step 10: Work your getting-started page with us
When you sign up, we send you a private Getting started page, protected by a PIN. It’s shared and live: you, your team and ours see the same page, and changes show up for everyone within a few seconds.
- Check things off as you finish them, and tap 📝 Note on any item to answer a question or tell us something in your own words.
- Our team replies right under your note. Replies you haven’t read yet are marked New.
- If you’d like, we also email you a short summary of new replies you haven’t seen yet, at most once every 30 minutes.
- Ask for anything else under Requests, where each request shows its status: New, In progress, Waiting on you or Done.
After you go live, the same link and PIN stay yours as your account page: the Requests list moves to the top and the setup checklist folds into History.
Step 11: Tell us what to change on your website
The Your website section of your getting-started page lists each page of the demo site we built for you, with a link to open it. Check a page off when it looks right. To change something, tap Tell us what to change on this page under that page and write it in your own words. We see every request and make the change for you.
Step 12: Set up your Stripe account
Your getting-started page also has a Set up your Stripe account step. Have these ready: your business’s legal name, address and phone, your EIN, the bank account for deposits, and the owner’s details, which Stripe asks for to confirm who you are. Then sign in, open Payments and click Get paid by card. You enter your bank and identity details on Stripe’s own secure page, so they never pass through us. Please never text or email them to anyone, including us.
Step 13: Follow your setup checklist, in order
Your Setup checklist (it opens after you sign in, and from the banner at the top) lists your steps in this order:
- Connect your books (optional): tap Connect QuickBooks to bring your history over on its own (see the next step), or Add us as your accountant in QuickBooks (in QuickBooks Online: Gear → Manage users → Accounting firms → Invite, and enter accounting@thecompendiumco.com), or I don’t use accounting software yet. Any choice checks it off. We only read from QuickBooks; we never write to it.
- Connect Stripe. You need it to go live.
- Card volume: pick about how much you run in card payments a month.
- Bring over your customers, price book and jobs, or text us “call me” and we’ll do it with you.
- Add your team.
- Add your logo, then review your website.
- Optional add-ons: the phone system ($79 a month*) and payroll ($39 a month + $6 per employee, coming December 2026).
If you checked Text me about setting up my account when you signed up, our onboarding team texts you from 857-688-5696, only between 9am and 8pm your time. Text back anytime, or reply STOP to opt out.
Check your Spam, Promotions or Junk folder for our emails and mark them Not spam, so the next ones reach your inbox.
Step 14: Connect QuickBooks and bring your history over
In your setup checklist, open Connect your books and tap Connect QuickBooks. A QuickBooks tab opens. Sign in as your QuickBooks admin, pick your company and allow the connection. Then come back to the checklist.
Within a few minutes we start bringing your history over on our own. Your books get every transaction, checked against your QuickBooks Trial Balance, plus your bank and card registers. You also get your customers, your products and services (in your price book under QuickBooks items), invoices, payments, estimates and vendors, with past jobs under each customer. The step shows Importing… and then Done with the counts.
- We only read QuickBooks. We never change anything in it.
- Nobody on your customer list hears from us. Imported invoices are history: no reminders, no review requests and no pay links.
- Until you’re done with QuickBooks, we check it once a day and bring over anything new, so you can run both for a little while. Set a switch-over date, and anything entered in QuickBooks after it goes to our accounting team as a list instead of being copied.
- When you’re ready, tap I’m done with QuickBooks. We stop checking it, and everything lives here.
Rather not connect? Tap Add us as your accountant in QuickBooks, or I don’t use accounting software yet. Connecting your books is optional and never holds up going live.
Still stuck? Tell us what you were trying to do and where you got stuck. A screenshot helps.
Your ticks are saved in this browser only. Updated October 2026.
Questions about this
Do you change anything in my QuickBooks?
No. We only read it. Nothing we do writes to your QuickBooks.
Will my customers hear about old invoices from QuickBooks?
No. What we bring over is history. Nobody is emailed or texted, and old invoices never get reminders, late notices or review requests.
Where do I find my Business ID?
It’s the company number in your welcome email, and it’s shown on the sign-in page of your own workspace. Everyone on your team uses the same Business ID with their own username.
Is there a setup fee or a trial?
No. MyHomeService360 is free forever with unlimited users. It isn’t a trial and there’s no card to sign up.
*Included minutes and texts cover typical use. Usage above the included amounts is billed as overage, and larger or high-volume companies may be quoted higher phone and texting rates. See our Terms.