
Track inventory and purchase orders
Track shop and truck stock, scan parts in and out, and run purchase orders from draft to paid.
Free forever Not a trial. No card, no contract, unlimited users. Card payments cost 3.9% + 30¢. Our promise →
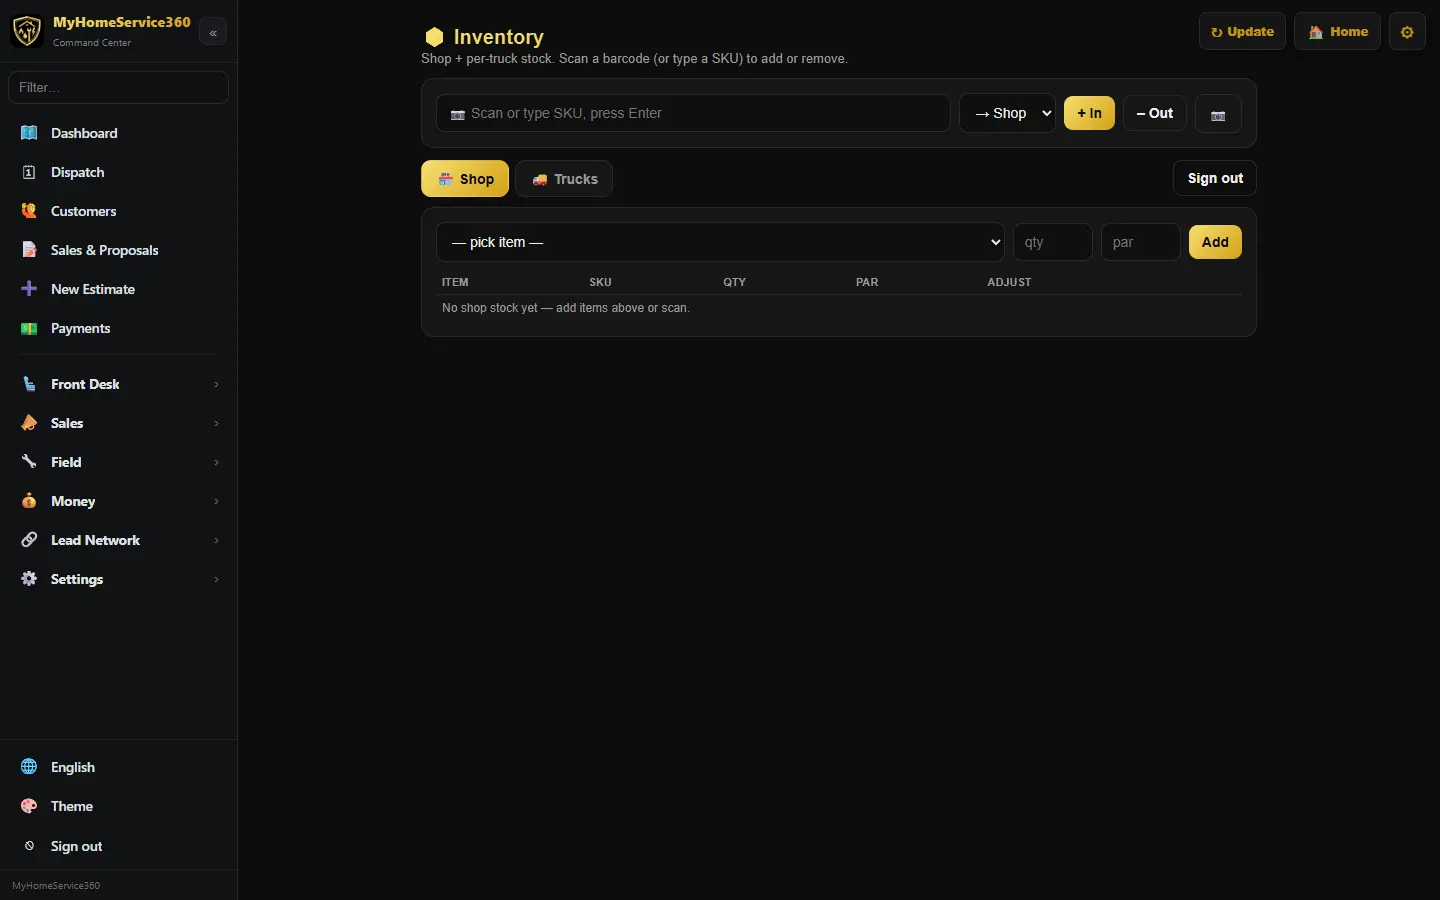
Step 1: Add your stock
Open Field → Inventory to add parts, import your list, set shop and truck quantities and reorder points, and print barcode labels. See Load your parts and stock and Print barcode labels.
Step 2: Check truck stock
Open Field → Truck & Shop Stock to see what’s on each truck. Techs see their own truck in the tech app under My Truck and can request a restock.
Step 3: Order parts
Open Purchase Orders (right under Dashboard) and create a purchase order: draft it, order it, receive it in part or in full to the shop, a truck or a job, then bill and pay it.
Tie it to the sold proposal. In the PO, pick the customer’s accepted proposal under Sold proposal: its job fills in, or tap Create the job from this proposal if there isn’t one yet. A PO going to the shop or a truck can still be bought for a job, so job costing sees it. You can also start a PO from the proposal itself (Start a PO from this sold proposal at the bottom of an accepted proposal); its parts and equipment come in as lines, and you set the costs. The job page and the proposal both show a Purchase orders panel: what’s committed, received and billed against the sold price, and what’s left after purchases.
Keep the paperwork on the PO. Under 📎 Invoices, receipts & files on any PO, drop in the vendor invoice, the counter receipt, the packing slip or the quote (PDF or a photo, up to 20 MB). Files are private: each one opens with a link that works for 10 minutes. On a vendor invoice, Use this for the bill fills the bill amount and date. At the supply house, use 📷 Receipt for a job.
Step 4: Track refrigerant
Open Field → Refrigerant to log cylinders, EPA 608 certifications and leak rates.
Step 5: One PO per vendor
On a job (or a sold proposal), open the Purchase orders panel and press 🧾 Create POs by vendor. Every part and piece of equipment on the job is listed with the vendor from your price book already picked. Change any line’s vendor, untick what you don’t need, then press Create: you get one draft PO per vendor, all tied to the same job and proposal. Use + Another PO for this job any time you need one more. The panel shows each vendor’s committed, received and billed totals.
Step 6: Fill a PO from a vendor quote
On a new or draft PO, press 📄 Upload a quote and pick the supplier’s quote (a photo or a PDF). In about 20 seconds it reads the vendor, quote number, date, good-until date, each line, freight and total, and matches the lines to your price book. Anything it wasn’t sure about is marked in orange, so check those first. Untick lines that belong on another PO (they open in a new PO after you save), press Fill the PO, then Save draft. The quote is attached to the PO.
Step 7: Approve parts your techs ask for
Techs ask for parts from the job in the tech app (Parts for this job → Send to the office), and a part pulled off the truck asks for its own restock. The requests wait on the Requests tab in Purchase Orders. Approve turns one into a draft PO for that job, or Decline it with a note. The cost lands on that job’s job costing.
Step 8: Find a job by its proposal number
When you pick the job on a PO, type the job number, the customer or the proposal number (261178, or the old 1178). A sold proposal that’s already a job shows as (proposal 261178) next to the job title.
Step 9: Upload the vendor invoice
Fill in everything first (vendor, lines, expected date, ship-to). After you mark the PO ordered, it shows Next: the vendor invoice. When the invoice comes in, press 📄 Upload vendor invoice. It’s checked against the PO line by line: ✓ matches, ⚠ a price or quantity that’s off, ✗ something missing or extra. Press Confirm to receive it and enter the bill in one step. Nothing changes until you confirm.
Step 10: Mark it paid, and how
On a PO that has its bill, press Mark as paid and pick Paid via: a company card (pick which one), the bank (check, ACH or wire), cash or a vendor credit. A card payment goes against that card in your books, so it isn’t counted twice when the card statement comes in.
Still stuck? Tell us what you were trying to do and where you got stuck. A screenshot helps.
Your ticks are saved in this browser only. Updated October 2026.